- Forum
- Our Servers
-
Leaderboards
-
DarkRP
- DarkRP Gangs
- DarkRP Money Printed
- DarkRP Suit RIPs
- DarkRP Mayor Survival
- DarkRP Nuclear Launches
- DarkRP Bank Vault Raids
- DarkRP Bartender Tips
- DarkRP Air Drops
- DarkRP Casino Vault Raids
- DarkRP Drug Runs
- DarkRP Arena Events
- Police Armory Raids
- Bartender Customers Served
- Police RIPs
- DarkRP GENCoin Sold
- Surf Records
- BHOP Records
- Trouble in Terrorist Town
- Deathrun
- Prop Hunt
-
DarkRP
- Community
- Help
- Store
|
Login to ZARP
|
TOPIC: [PROPHUNT] Information Thread
[PROPHUNT] Information Thread 8 years 2 months ago #562215
|
This is the information thread for the ZARP Gaming Prophunt server. Here you can find any important information regarding the gamemode, including any small guides for the server. If you feel that your post should be added here, or you have a suggestion for the thread or the server, please contact one of the Community Team members! |
|
|
Discord: thexnator Former Community Owner: 2020-2022
Last Edit: 2 years 9 months ago by Callum..
The topic has been locked.
|
[PROPHUNT] Information Thread 8 years 3 weeks ago #632812
|
It's quite simply a game of Hide and Seek - (WITH GUNS Hunters:
Props:
Additional Buttons to Press:
Don't break any of the server rules, which you can check over here, and remember that you can apply for staff in the server applications section I hope this has explained everything about PropHunt - have fun and enjoy Credits to CrankyBot for creating this guide |
|
|
Discord: thexnator Former Community Owner: 2020-2022
Last Edit: 1 year 1 month ago by ItsDonny.
The topic has been locked.
|
[PROPHUNT] Information Thread 7 years 7 months ago #781669
|
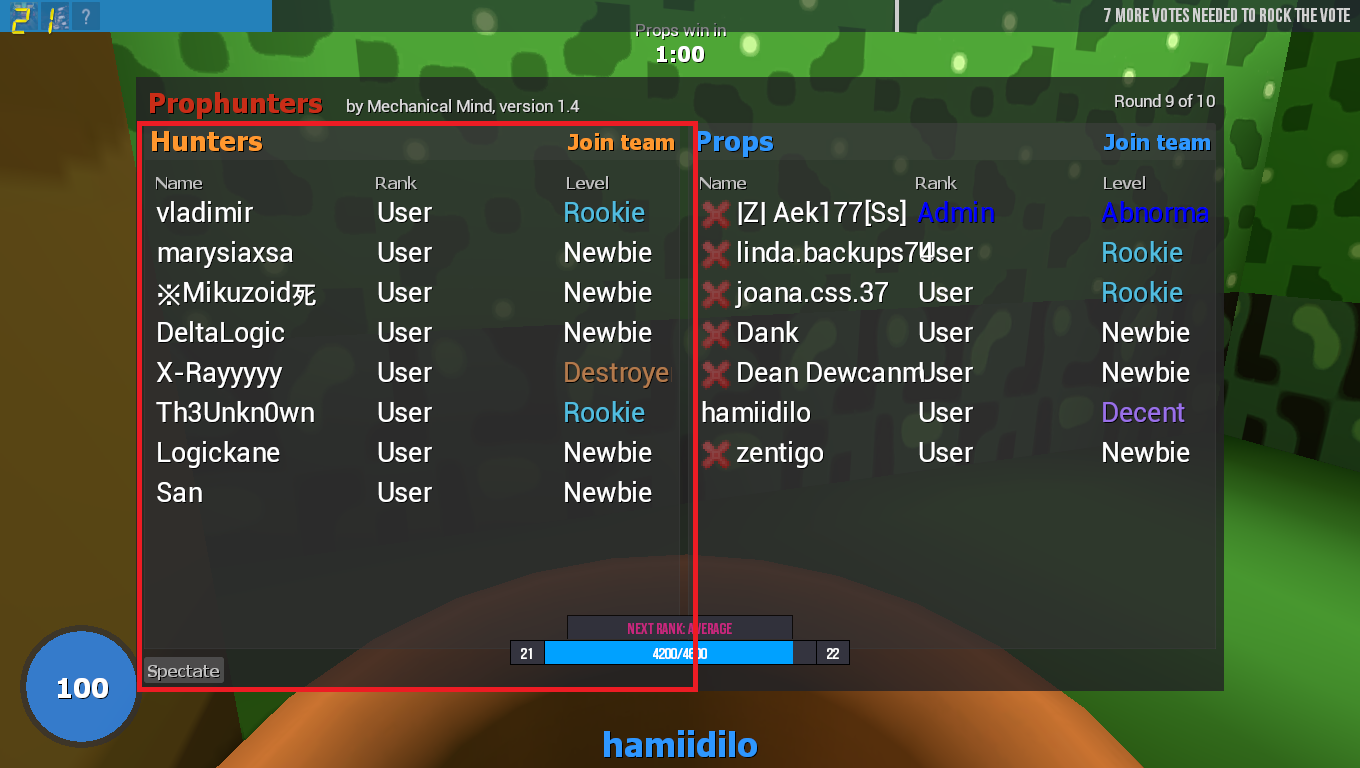
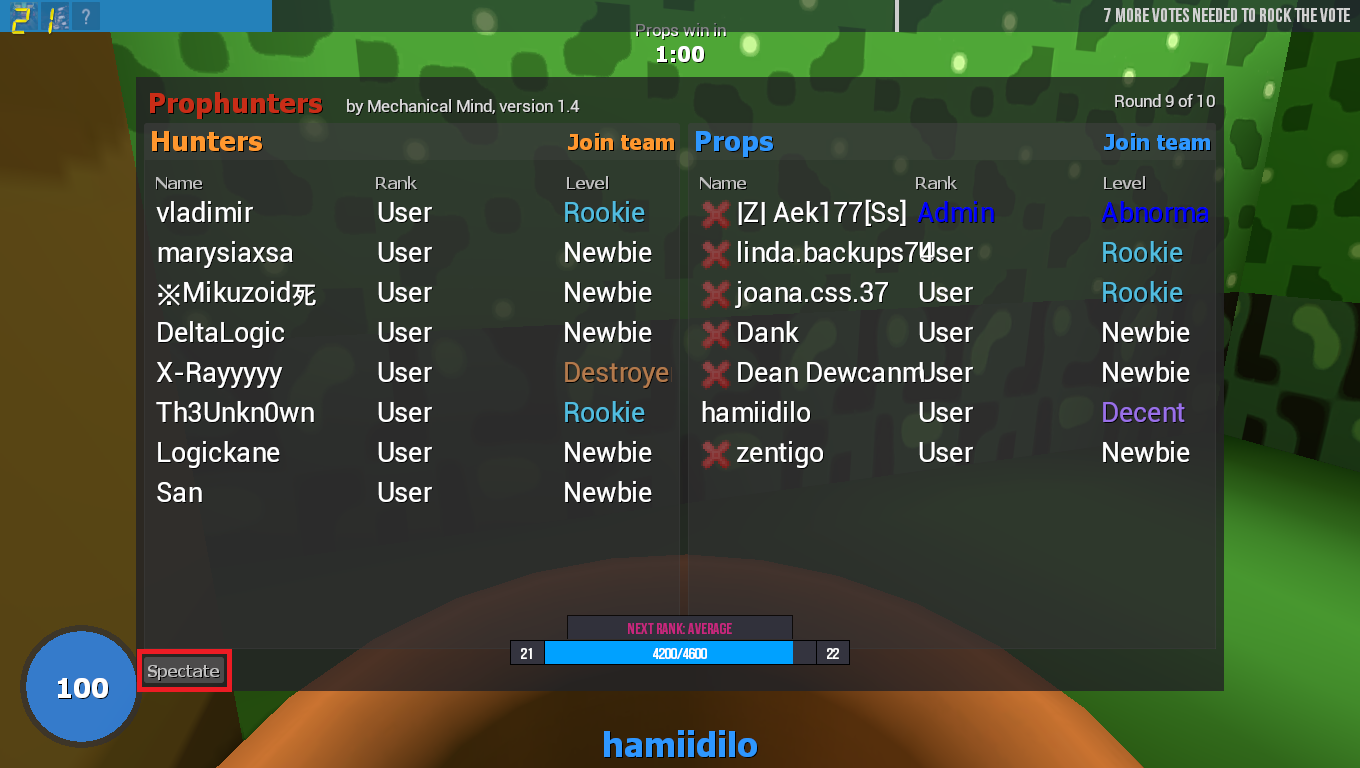
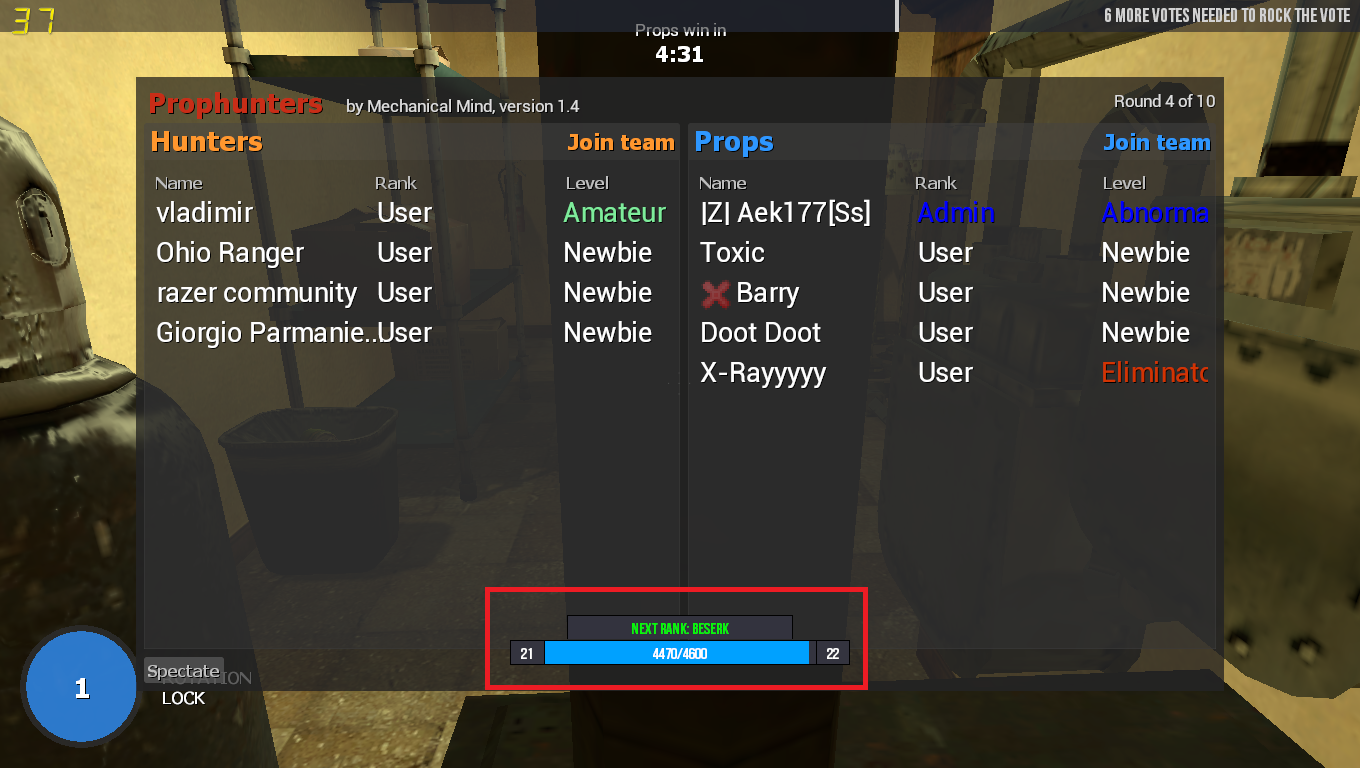
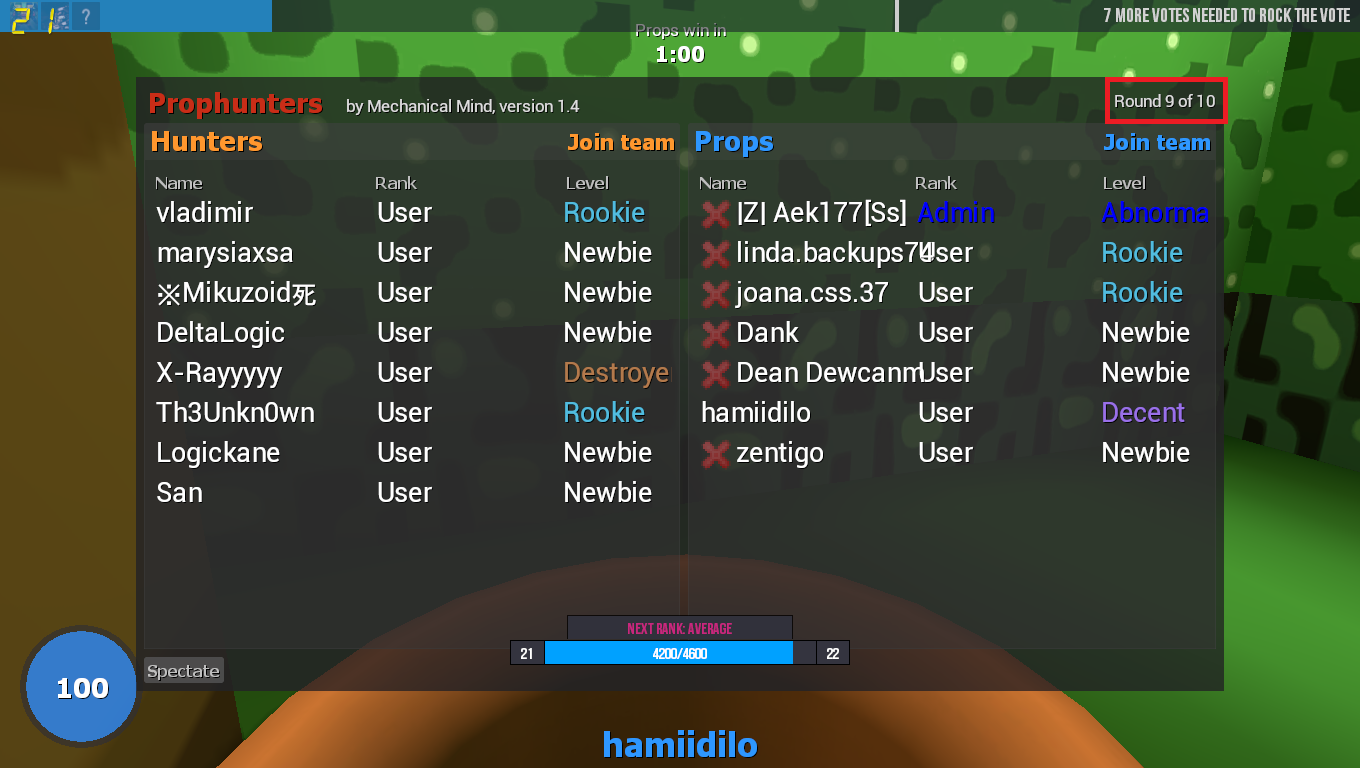
The Complete guide: When you connect to the server you will be automatically watching the current round in progress. You will be dead and you can tell this by pressing and holding tab so you can then see everyone's name on the server. Like this: NOTE: The red cross next to your name indicates if you are alive or dead, you can also see this on other people to see who is left alive etc. Whilst you are waiting to play you can read the rules so you can avoid being punished on the server by the staff. How to play: When you are in a round you will either be a Hunter or a Prop. As a Prop your job is to hide so that the Hunters won't be able to find you. Props Team: Click join team if you wish to switch from Hunters to Props or from Spectators to Props. Props have to hide! There are many objects in a map that a prop can hide as, to select a prop - go up to it and you will see an outline (red meaning you are too far to select it - green meaning you can select it) when the outline is green press the LMB (left mouse button / left click) and you have now become the object you clicked on! (You can also pick up objects by holding E again)[/li] There are many objects in a map that a prop can hide as, to select a prop - go up to it and you will see an outline (red meaning you are too far to select it - green meaning you can select it) when the outline is green press the LMB (left mouse button / left click) and you have now become the object you clicked on! (You can also pick up objects by holding E again) Now that you are a prop - time to go hide! Bear in mind your prop rotates when you move your mouse, press C to prevent this from happening! Meaning you can look around without your prop having to move! Hunters Team: Find the props who are (mostly) hiding as objects - some objects don't blend in with the environment, to test if they are the human or an actual prop: Hold the letter E to pick up the object, if the object lifts up to your head (or eye-level) then this is a normal prop - no need to shoot it. If you cannot lift the object it is one of two things: A - It is a human prop (therefore you shoot it till it's dead) or B - the object is too heavy. Hunters win by killing every prop within the time given. To scroll through your weapons press the number keys (1-5) OR scroll with the mouse wheel and left click (to see what weapons you can unlock as your levels progress press F1 - these weapons vary from pistols, shotguns, automatic rifles and a grenade launcher - sometimes there are pickups in the maps such as Grenades or Rocket Launchers. What happens when you get xp points: When you win a round as a Prop you have a chance to gain extra xp for things such as: - Longest Survivor (Only when last alive) - Most Movement (You moved around the map the most) - Least Movement (You moved around the map the least) - Most taunts (Use taunts by pressing F3 or F7 if you have bought a taunt in the F4 menu) When you win a round as a Hunter you have a chance to gain extra xp for things such as: - Most kills (For killing the most amount of props) - First blood (For killing a prop first) - Angriest player (For shooting the most amount of props) Spectator's Team: If you need to go AFK or just want to watch the round rather than play it then click the Spectator button in the tab menu. If you win a round you will automatically get 40xp. When you get enough xp you will level up. There are 30 levels overall and every 3 levels will unlock a new Weapon. The levels and weapons can be found here. You can see how much xp you have when you press and hold tab and look at the bottom middle of your screen. There are a total of 10 rounds per map and you can find out what round it is by pressing and holding tab and looking at the top right of the screen. I hope you found this little guide useful, if there is anything that you want me to add either post below or message me on steam. (Add me by clicking the pictures in my signature) |
|
|
Last Edit: 6 years 2 weeks ago by .uzi.
The topic has been locked.
The following user(s) said Thank You: LucyLevi17
|
[PROPHUNT] Information Thread 5 years 4 months ago #1208799
|
1.Newbie Starting Rank 2.Rookie 400 exp needed 3.Amateur 800 exp needed 4.Decent 1,000 exp needed 5.Average 1,200 exp needed 6.Semi-Pro 1,400 exp needed 7.Professional 1,600 exp needed 8.Master 1,800 exp needed 9.Lord 2,000 exp needed 10.King 2,200 exp needed 11.Infamous 2.400 exp needed 12.Destroyer 2.600 exp needed 13.Eliminator 2,800 exp needed 14.Annihilator 3,000 exp needed 15.Fearless 3,200 exp needed 16.Hound 3,400 exp needed 17.Beast 3,600 exp needed 18.Titan 3,800 exp needed 19.Terminator 4,000 exp needed 20.Emperor 4,200 exp needed 21.Abnormal 4,400 exp needed 22.Berserk 4,600 exp needed 23.Predator 4,800 exp needed 24.Assassin 5,000 exp needed 25.Gruesome 5,200 exp needed 26.Indomitable 5,400 exp needed 27.Omniscient 5,600 exp needed 28.Draconic 16,600 exp needed 29.Demon 28,600 exp needed 30.Satanic 30,000 exp needed 31.Phantom 32,000 exp needed 32.Marvelous 34,000 exp needed 33.Daemon 38,000 exp needed 34.Monarch 40,000 exp needed 35.Fanatic 42,000 exp needed 36.Cultist 44,000 exp needed 37.Bloodthirsty 46,000 exp needed 38.Merciless 48,000 exp needed 39.Ace 50,000 exp needed 40.Unpredictable 54,000 exp needed 41.Impracticable 58,000 exp needed 42.Psychopath 62,000 exp needed 43.Maniac 66,000 exp needed 44.Dangerous 70,000 exp needed 45.Public Enemy 74,000 exp needed 46.Godlike 78,000 exp needed 47.Demi-God 82,000 exp needed 48.God 86,000 exp needed 49.GodKing 90,000 exp needed 50.Etherious 95,000 exp needed |
|
|
Last Edit: 2 years 8 months ago by ItsDonny.
The topic has been locked.
The following user(s) said Thank You: Martin, Mr. Richard
|
[PropHunt] What is exploiting guide 5 years 1 week ago #1256405
|
Hello! So it has come to my attention that some people are confused with what exploiting is and what spots are exploiting. With this simple trick that I'm going to tell you, you don't need to know all of the spots that are exploits. It's simple, when picking out a hiding spot ask yourself these two questions. Is there any way for hunters to see me from here? And can a hunter shoot me while I'm here?
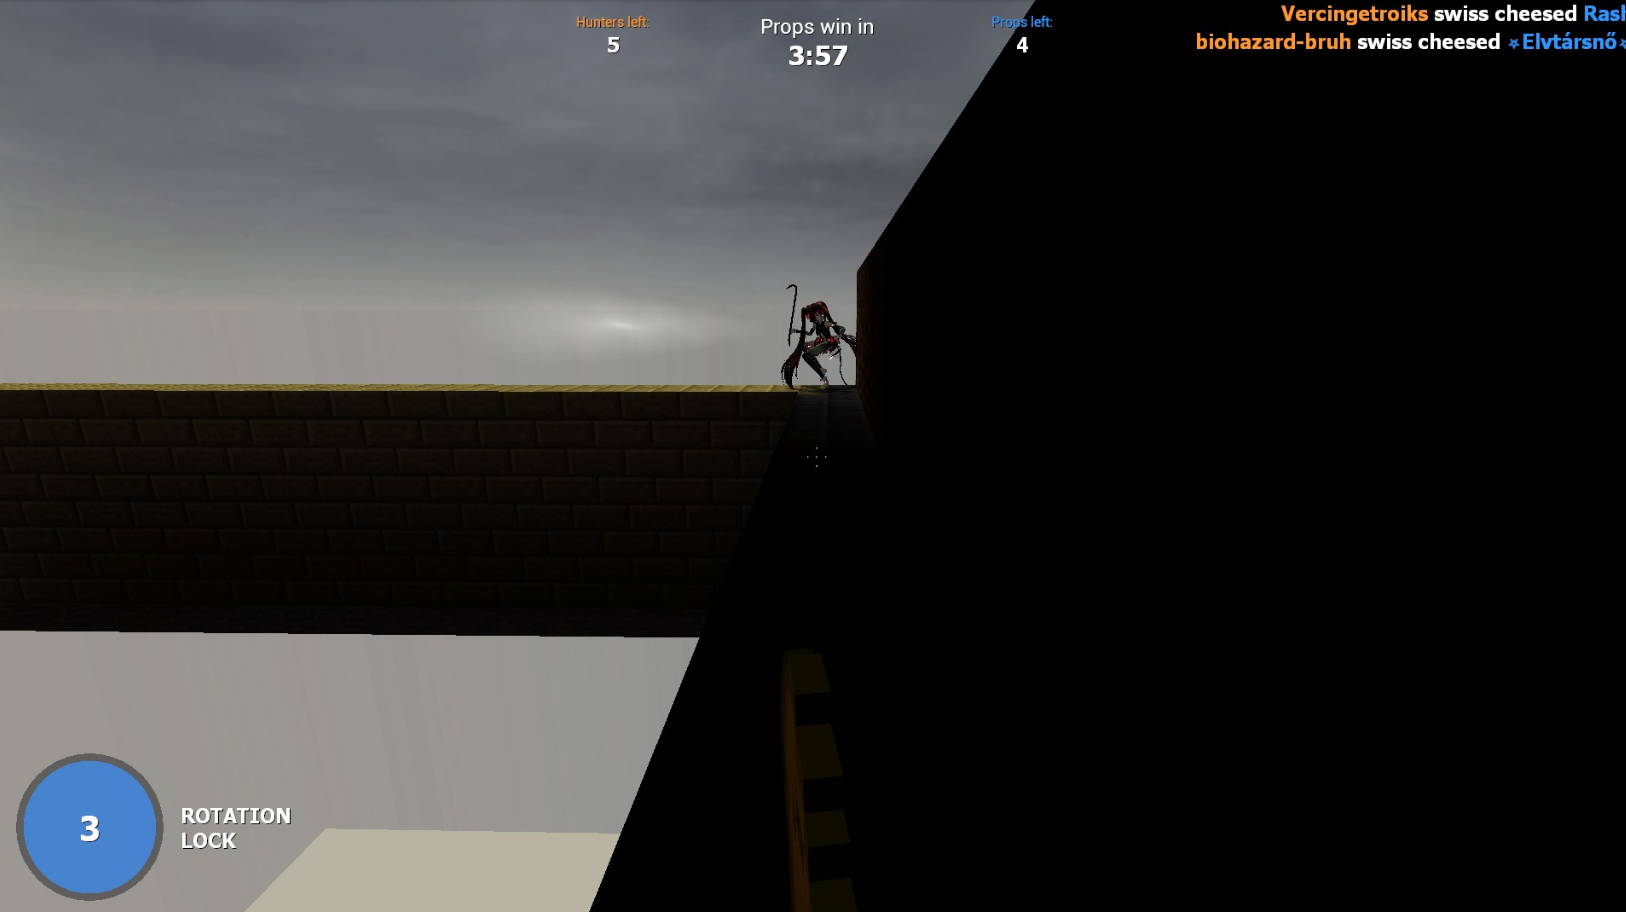
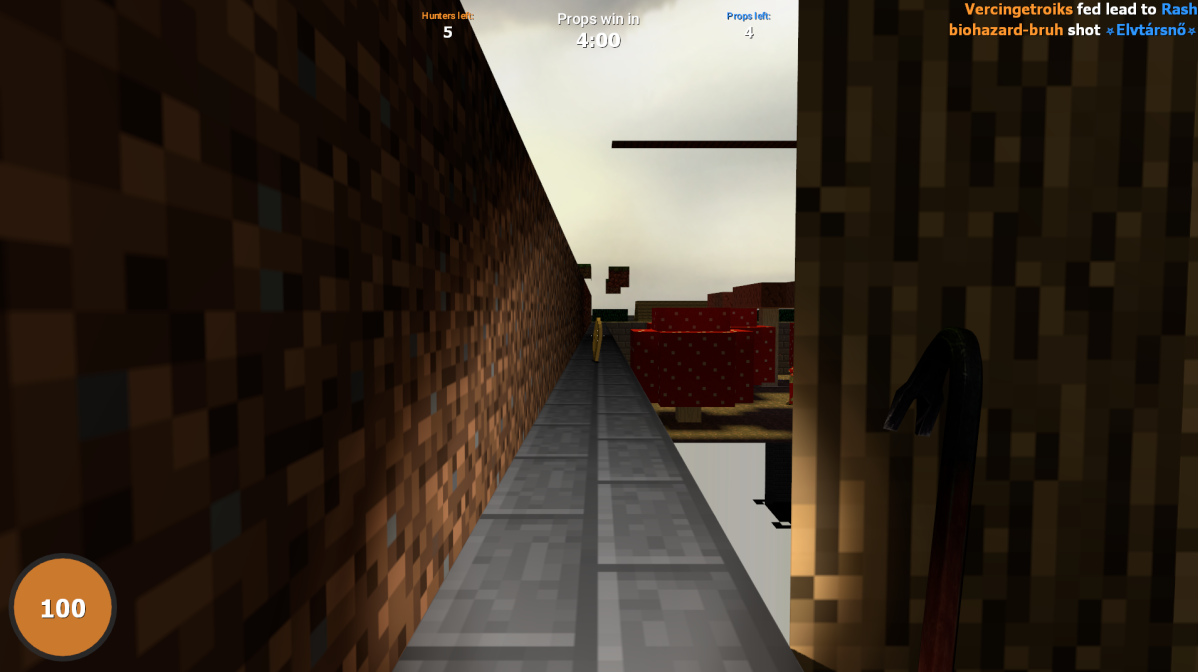
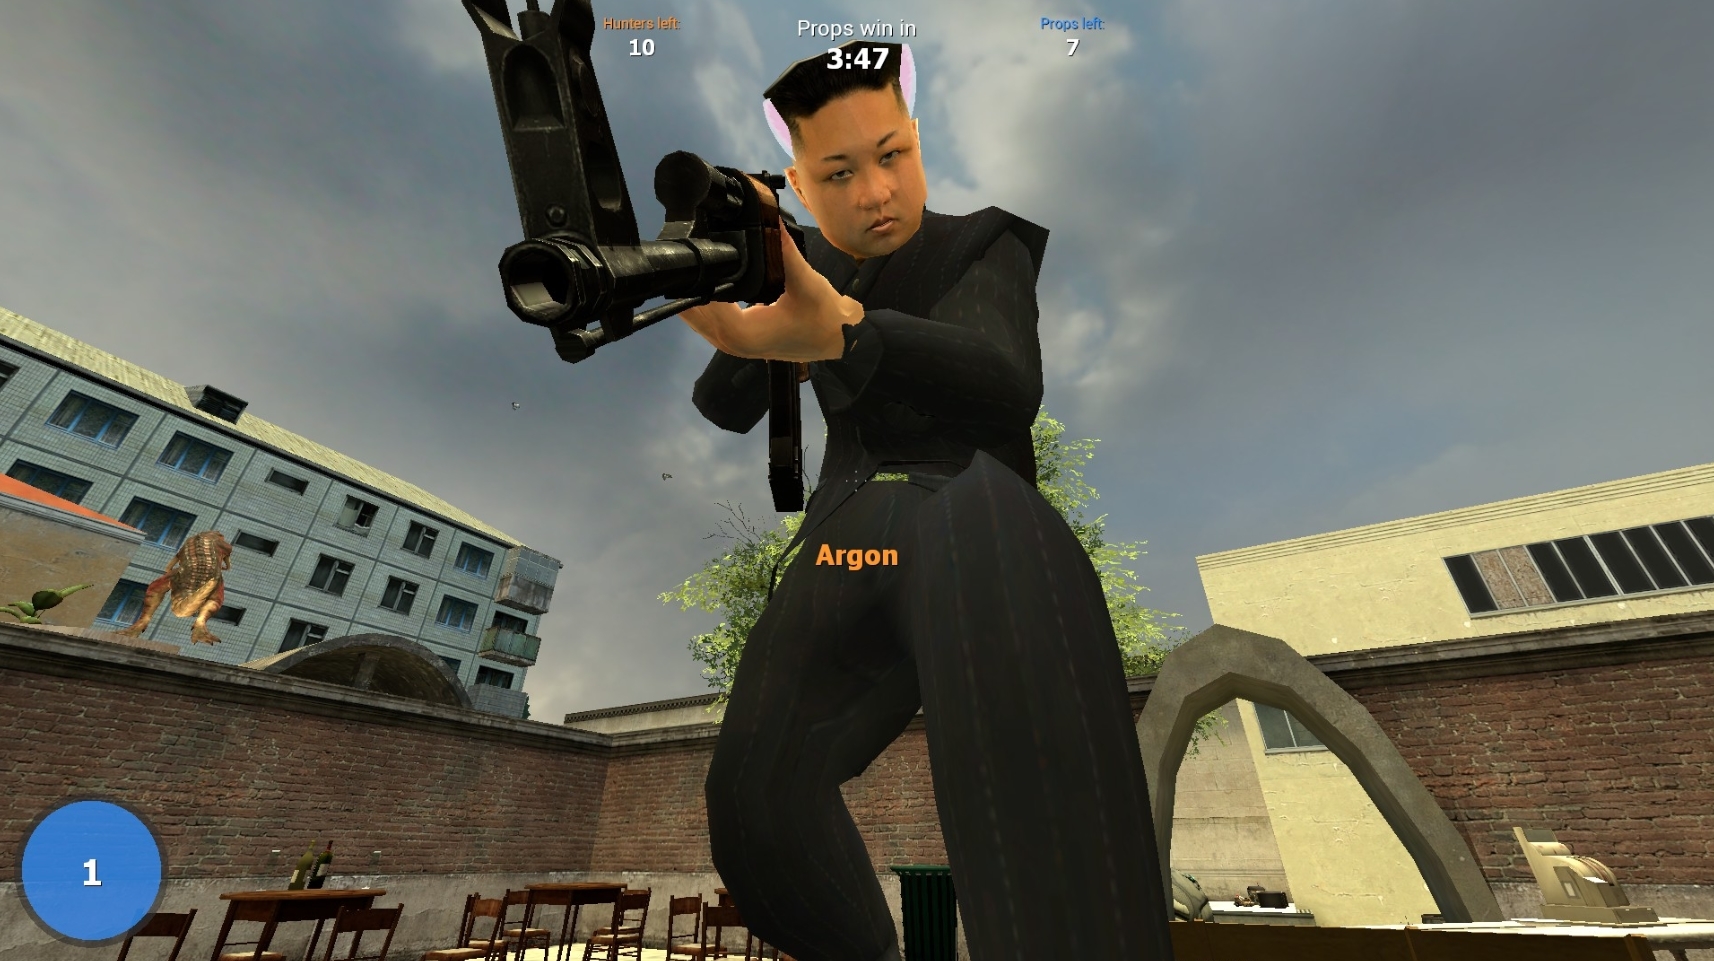
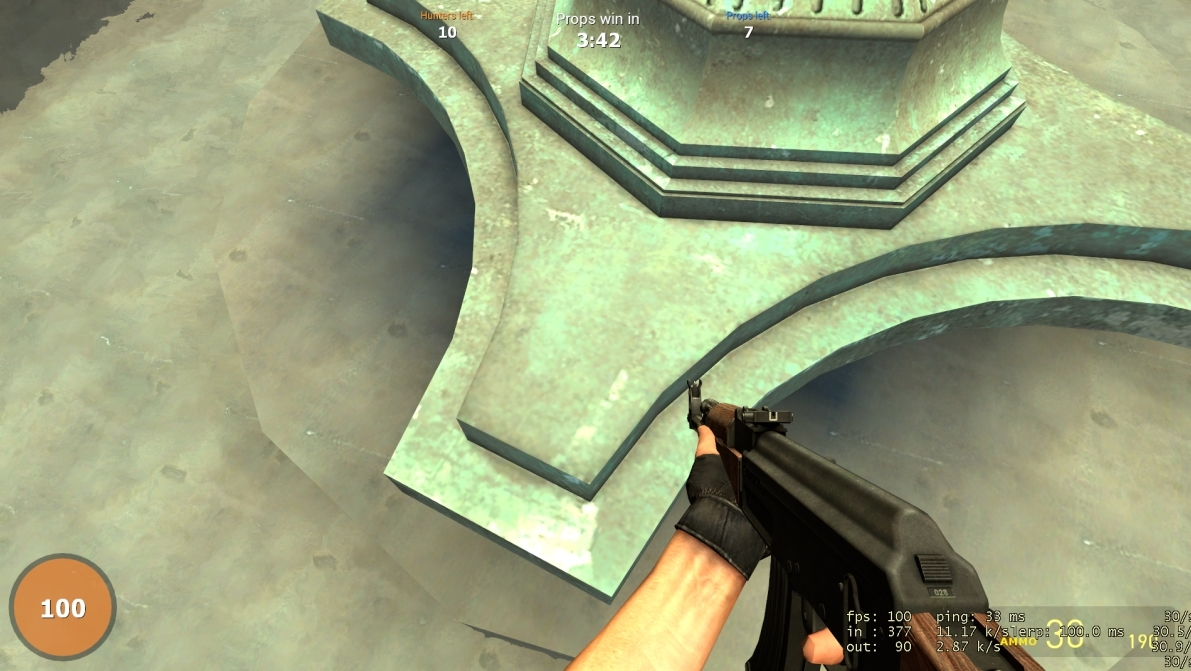
Keep in mind that if it's hard to see a prop from that position but you can still be seen if the hunter stands on a specific spot it's not exploiting the map. It's called a good hiding spot. The specific rules for exploiting: Warning: Spoiler! [ Click to expand ][ Click to hide ] 1.11 - Exploiting Purposely abusing unintentional game features is prohibited. If you find a bug which could be an exploit, report it ASAP. 2.1 - Hiding Places Do not attempt to glitch out of the map / into walls in order to hide. Now for some examples. Obviously I'm not going to tell you how to do the exploits. Example of what is not an exploit: Warning: Spoiler! [ Click to expand ][ Click to hide ] Here's the prop's view: Here's the hunter's view: Notice how the hunter can clearly see me, even though it seems like I'm in the wall there's still a way of pintpointing my precise position and can shoot me. This is important as for a position to be counted as an exploit he either has to be unable to see me and pinpoint my precise position and/or shoot me. Examples of exploits: Warning: Spoiler! [ Click to expand ][ Click to hide ] Prop's view: Hunter's view: There are many problems with this one, the major being that I can move freely as a prop around that fountain without ever getting caught. The hunter can't see me no matter where he stands and to be ably to try and get me have to have 2-4 milkors shooting at the same time. Now you know how to see the difference between exploits and good hiding spots. Also keep in mind that secret rooms are obviously not exploits. Thank you for reading. Special thank you to Biosenic and Argon for helping me with everything! |
|
|
The topic has been locked.
The following user(s) said Thank You: Poltergeist
|
Time to create page: 0.207 seconds


